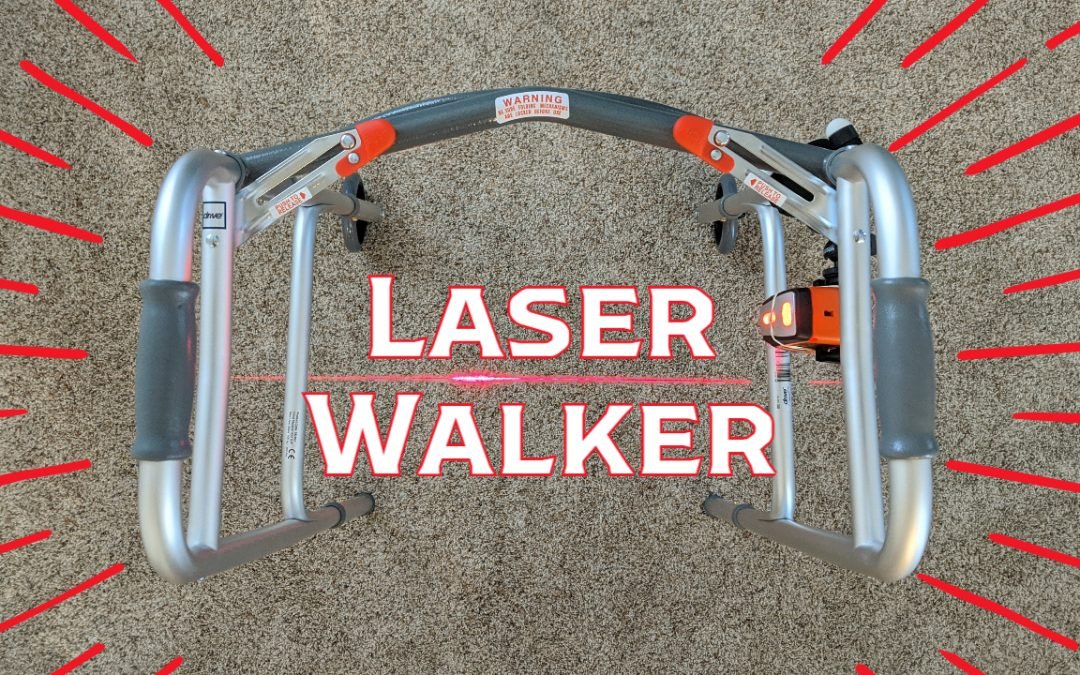
How to add a laser line to a walker or cane
As an Amazon Associate I earn from qualifying purchases. Read our disclosure here.
Difficulty initiating movement and freezing of gait is very common for those with Parkinson’s Disease. These issues often cause people to reduce participation in recreational activities. A variety of external cues can help to relieve these symptoms. One such cue is a laser line projection. The laser line provides a visual target for increasing step length. Improved step length leads to increased safety with ambulation and performance of daily tasks.
Typically devices such as the Laser & Sound Cue for the U-Step 2 cost upwards of $250 and can only be attached to the U-Step 2 walker. While the cost of a U-Step walker may be covered by insurance, it often is not. These barriers make the use of a laser for targeting step length almost unattainable by most people with Parkinson’s Disease.
For about $40, a homemade version can be made that easily attaches to any cane or walker.
Here’s what you’ll need
Alternatively, you may consider getting the GripTight ONE GorillaPod (Amazon) for a more compact option.
Assembly
Place the laser level in the phone holder on the tripod and securely fasten it using rubber bands or zip ties for a more permanent application. Then attach it to the walker or cane in an area and facing a direction that will not impede stepping. For a standard walker, the area directly below the handle on one side is an excellent option.

Once attached, adjust the laser so it is oriented in the correct direction and the best position to encourage increasing step length and initiating of steps. Typically about half way between the front and back of the walker is a good place to start.

View the full video tutorial HERE:


Recent Comments